Welcome to Recess 🎉 😎
Now that you have successfully created your account - it's time to jump into creating your first campaign!
First off - what's the campaign and why is it important?
A campaign is a place where you specify your objectives in order to get matched with the best opportunities that fit your criteria and your activation. During your campaign creation process, you will specify campaign preferences like target audience (who you want to target), type of experiential marketing opportunity, location, and so forth. Additionally, once you create a campaign you will receive weekly emails featuring event opportunities that match your criteria. Let's dive into how we can create our first campaign!
Why setting correct campaign information is important:
- Helps you get matched to opportunities based on your targeting
- You get weekly emails when new opportunities get published that match your campaign targeting and criteria
- Shows correct pricing when viewing matched opportunities
-
- For example, if you want to have drinks served cold it will show the cost to have organizers distribute them cold
-
- Automatically adds correct instructions and terms for your offers that are submitted to Organizers so that Organizers know how you want your activation to be executed.
-
- For example, if you select Item Distribution and want your item served cold by selecting this in your campaign that instruction is added to your offers and your pricing is updated.
-
Let's dive into how we can create our first campaign!
When to create new campaigns:
- You have multiple different items being distributed
- Create new campaigns for varying products: a food item will be a different campaign than a beverage item.
- You have another brand
- If you manage multiple brands, create a new campaign for each brand, therefore, when offers are submitted they get routed to the correct brand.
- You have a different activation
- If you have an activation for sampling items cold and passing out to cars at drive-ins vs sampling items warm by placing them on doors at apartment complexes, you would need to create two separate campaigns.
- You want to execute campaigns with different targetings
How to create a campaign
- Visit app.recess.is/campaigns and click on 'create your first campaign,' then choose from three campaign options Item Distribution (event and venue organizers distribute your items), Video Wall (play your video clip/ad at an event), and On-Site Activation Space (send your brand ambassadors to distribute items from your own activation space during an event).
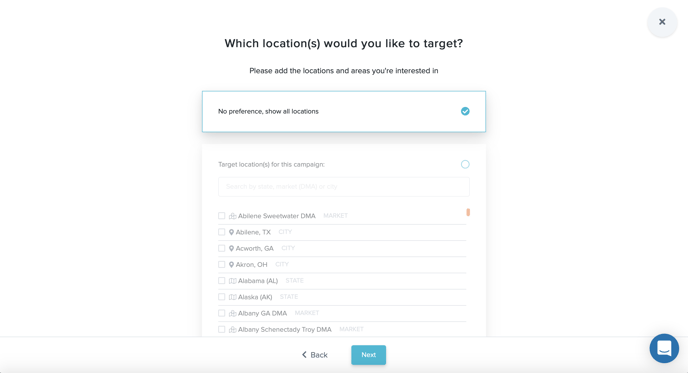
- Choose a preferred location for your campaign or click on 'no preference' if you would like to see nationwide opportunities. You can search for more options via the search bar by state, city, or market. Once you have found your preferred location (or locations) simply select them via the checkbox and click next.
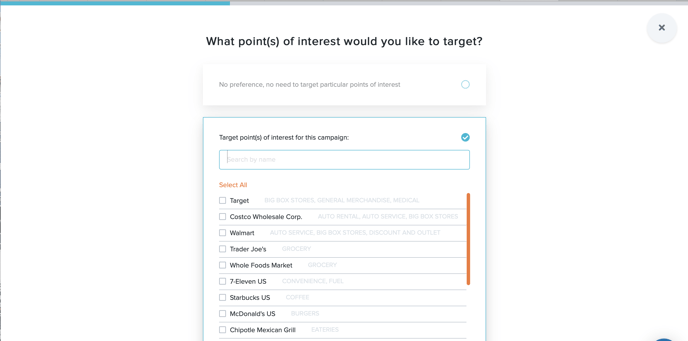
- Choose preferred point(s) of interest or click on 'no preference' if you would like to see all opportunities. Points of interest are places you would like the execution of your campaign to be near - this can be near a grocery store, convenience store, retailers, and more. For example, if your item is sold at Whole Foods, you could select that as a POI and set the radius to 25mi. The event feed would only show opportunities that are within 25mi of a Whole Foods location. Please note: this feature is currently not live, but is set to be released soon.
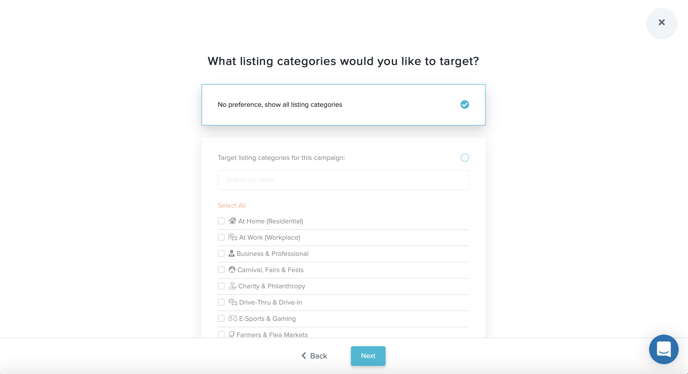
- Choose what listing categories you would like to target or click on 'no preference' if you would like to see all opportunities. Listing categories are broad level targeting, you can drill down on specific event/venue opportunities with listing type. For example, a category would be ‘fitness,’ whereas a type would be 5k runs. Choose from our variety of categories to improve your results.
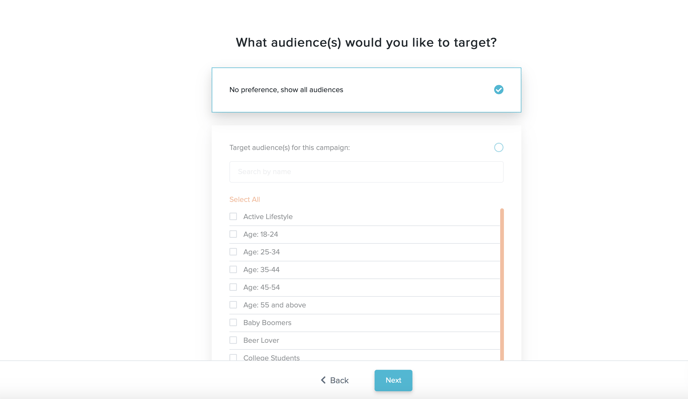
- Choose what audience you would like to target or click on 'no preference' if you would like to see all opportunities. You can target by age group, gender, lifestyle, and special interests.
- Specify the products or services that are being provided and a short description. Your brand will get automatically generated from the domain of your email address. If you would like to change it, simply click on ‘No, this is not the product brand’ in the blue text.
- Further provide more campaign information - like what items you would like distributed and how many (if it's a product distribution campaign). You can include any special requests to the organizer here. For food and beverage items, you can choose whether your product is served cold, how many coupons can be distributed (if any), if assembly is required by event/venue organizers, storage requirements, serving requirements (18+ as an example), and any other special requests you may have (distribute during a certain day/time or before a product expiration date). Watch the video below for more details.
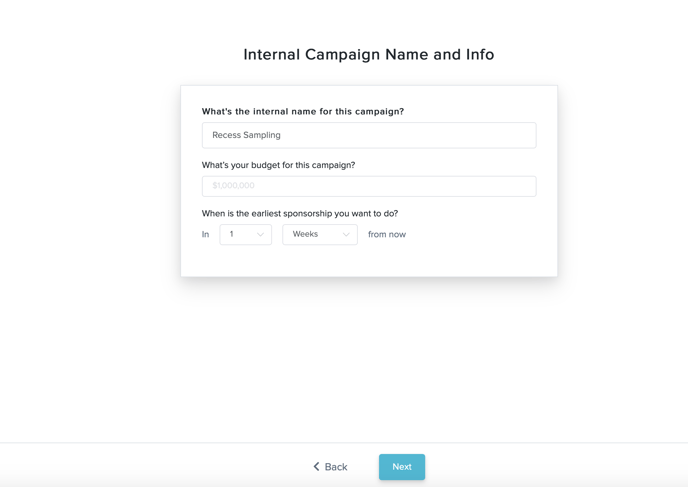
- Set your internal campaign name, your budget, and your expected go-live date.
-
Submit and browse through opportunities that match your criteria!
You can watch the full video walkthrough here: